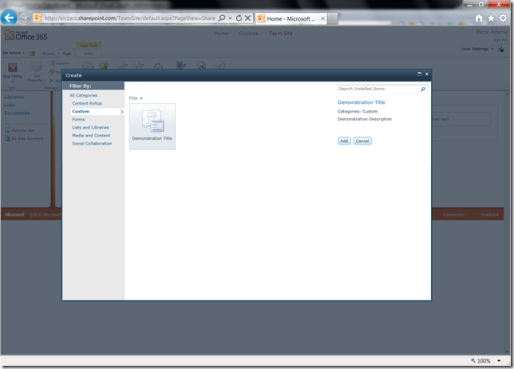
Few days back, I was tasked to demonstrate the Visual Web Part (Sandboxed) template of Visual Studio 2010 SharePoint Power Tools for SharePoint Online in Office 365, and below are the steps I have followed:
1. Initially, I have created a sandboxed solution.
2. Then, I have added an item using the Visual Web Part (Sandboxed) template provided by Visual Studio 2010 SharePoint Power Tools. I have simply added a single line to be displayed by the web part.
3. After building and packaging the sandboxed solution, I have uploaded and activated the WSP file in the solution gallery of a SharePoint Online site.
4. And finally, I have added the web part on a page.
5. And there we go, a visual web part (sandboxed) on a SharePoint Online site.
Thanks!


Comments on: "Visual Web Part (Sandboxed) for SharePoint Online in Office 365" (1)
[…] a comment A month ago, I have posted a basic guidance on how to create a sandboxed visual web part using Visual Studio 2010 SharePoint Power Tools. A […]